
You can mount your Arlo Go 2 Camera on a wall or ceiling. Before you mount your camera, make sure you’ve found a good location for LTE signal strength and motion detection. For more information, visit How to Position an Arlo Camera.
Note:
|
Before You Start
You need the following items to mount your camera:
A power drill with a 15/64 inch (6 mm) drill bit
A Phillips-head screwdriver
The screw mount that came in the package with your camera
A pencil (optional)
To mount your Arlo Go 2 camera:
- Place the screw mount on the wall or ceiling where you plan to mount your camera.
- On the wall or ceiling, use a pencil to mark the location of the three holes from the mount. The marks can be used as a guide to drill pilot holes.
- Remove the screw mount from the wall.
- Use a 15/64 inch (6 mm) drill bit to drill three holes into the wall.
- Place the screw mount back onto the wall and align it with the drilled holes.

- While holding the wall plate, use a Phillips-head screwdriver to fasten a screw into each hole.
- Screw your Go 2 Camera clockwise into the screw mount.

- Tilt and swivel to adjust the angle of the camera.
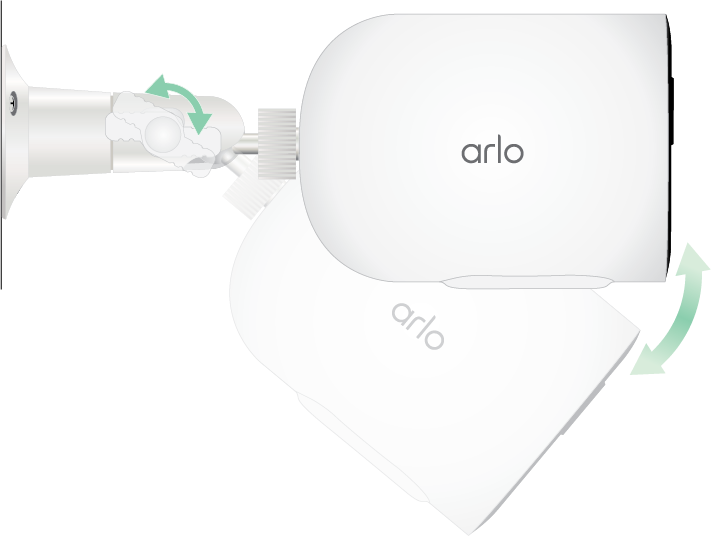
- Twist the thumb screw and the grip clockwise to tighten the camera position.